Showing posts with label Blog post. Show all posts

Thursday, 24 September 2015

Fruity Tutti No Bake Engery Bars

Clean Eating.

Raw Fruit and Nut Energy Bars:


Gluten Free, Wheat Free, Re-fined Sugar Free


Here's my recipe for Raw Fruit and Nut Energy Bars, a super tasty, quick and easy recipe that you can enjoy making with the kids for their packed lunches or in your spare time with the anticipation of the ever pending 'hangry' (hungry and angry) moments, where your suddenly in need of a quick pick me up but don't want to delve in to the abyss that is sugar overload land with the usual on the go snack. Hope you enjoy!


Raw Fruit and Nut Energy Bars


Ingredients:

75g almonds
40g dried apricots
5 medjool dates (stones removed)
1/2 tsp ground ginger
A pinch of cinnamon and nutmeg
20g dried cranberries
20g seedless raisins
Sprinkle of sunflower seeds


Method:

1. In a food processor blitz the almonds until a fine, bread crumb consistency.
2. Remove the almonds to a separate bowl and then again, in the food processor blitz your dried fruit, seeds and medjool dates until broken up in the small chunks.
3. Then add the previously ground almonds and the ginger, cinnamon and nutmeg to mix in the food processor and blitz until fully combined.
4. Transfer the mixture to either a flat glass dish or a plastic container. Press down firmly, I usually make mine about 1.5 -2 cm thick.
5. Store in the fridge for a few hours before consumption to allow the mixture to firm in to a bar. (I usually leave mine for half a day/ a day, depending on when the snack monster awakens.. ;)).
6. Once firm, cut in too 4-5 bars and snack away, guilt free knowing it's 100% healthy and happy.
(You could store these bars in the fridge in a air tight container or wrap in cling film. These bars are great for packed lunches or an on the go tasty energy boost.)


Hope you all enjoyed this recipe and hopefully give it a go! You wont be disappointed, they're (in my opinion) the best on the go snack out there and 100% good for you and super quick and easy to create a batch! As always, feel free to comment below or tag me on instagram and twitter. (I:@apesjackson and T:@aprilroseo)if you recreate this recipe or one similar!

Much love,  -A
Xx


That's all for now folks,


XOXO -A
<3

Sunday, 12 July 2015

Cappuccino and Chocolate Birthday Cake Recipe

Caffé Mocaccino Celebration Cake

So, being a baking enthusiast and over all cake lover with a very stubborn idea of the perfect birthday cake for the day, I decided the only way forward would be to make my own. (and a damn good cake it was too if I may say so myself...)


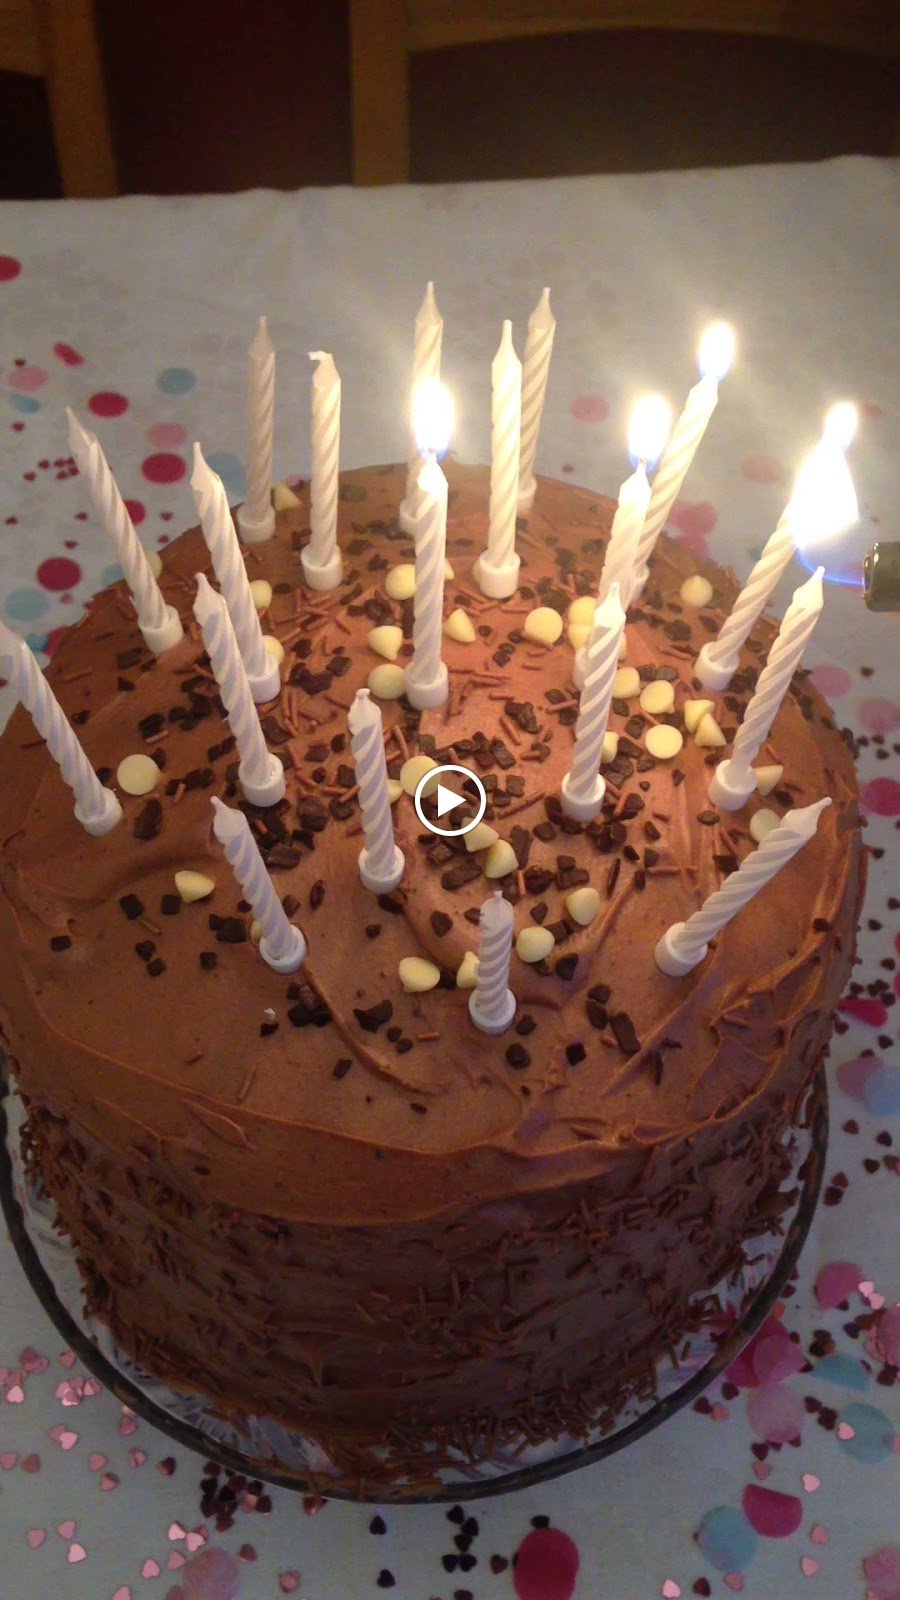
 This pretty, chocolate butter frosting covered coffee and chocolate layered sponge with coffee flavoured butter frosting in-between was my own (and ultimate fave) creation. Coffee cake has got to be one of my all time fave flavours (even if I'm not a lover of the beverage its self... the infused flavour in a magical sweet treat won't go to waste around me ;)) When mixed with its long lost lover and ultimate partner in crime CHOCOATE! It will send your taste buds through the roof.

This cake, although coffee cake, for sure won't smack you in the face with a strong and bitter taste of the beverage but will make its presence with a subtle and sweet welcome. The perfect in-between cake, dodging the extreme sickly over chocolaty or strong coffee sponge recipes out there achieving the perfect balance right in the centre. It'll be sure to please everyone! and make the perfect birthday cake surprise.

(So without further a do, here goes the recipe... and what you've all been waiting for.)


Cappuccino and Chocolate Layer Sponge Cake Recipe

(a.k.a. The Mocha Celebration cake)


Ingredients:


Chocolate sponge:

175g Self Raising Flour
225g Muscovado Sugar
225g Soft Un-Salted Butter
4 Eggs
50g Cocoa Powder
1 tsp Baking Powder
 

Cappuccino Sponge:

225g Self Raising Flour
225g Muscovado Sugar
225g Soft Un-Salted Butter
4 Eggs
1 tsp Baking Powder
4 tsp Instant Coffee, Dissolved in 1 tbsp Boiling Water
 

Inner Filling:

225g Icing Sugar
100g Butter
4 level tsp instant coffee, dissolved in 1 tbsp warm water
1/2 tsp Vanilla Essence
 

Chocolate Covering:

225g Icing Sugar
100g Butter
1 1/2 tbsp Cocoa Powder
1 tbsp Warm Water
1/2 tsp Vanilla Essence
 
Decoration: Sprinkles, Chocolate shavings/ drops


Method: 


 For the Chocolate Sponge:

1. Pre-heat oven to 180ºC/350ºF/Gas Mark 4. Lightly grease and/ or line two 20cm (8 inch) sandwich tins.
2. Beat together the sugar and butter until light and fluffy.
3. Beat the eggs in a separate bowl and add to the mixture little at a time, beating well after in addition.
4. Sieve the Flour, Cocoa powder and baking powder over the mixture and fold in with a metal spoon.
5. Once smooth, divide the mixture into the two cake tins as evenly as possible and smooth over with a knife.
6. Bake for approx. 25-30 mins. Until Golden brown and firm to touch. Leave to cool for 10mins and turn out of tins on wire rack.
 

For the Cappuccino Sponge:

6. Repeat steps 1-4 in the chocolate sponge recipe above.
7. Once smooth, stir in the dissolved coffee until thoroughly blended and divide equally between two greased cake tins.
8. Bake for approx. 25-30mins. Until firm to touch and the sponge springs back when prodded. Leave to cool and turn out on cooling rack.
 

Filling:  

Once the sponges are completely cool, use a sharp knife to level three of the sponges, leaving a coffee sponge unlevelled for the top layer.

1. In a mixing bowl beat together butter, icing sugar, vanilla essence and the dissolved coffee.
2. Once smooth place a chocolate sponge on your cake tray/stand and use roughly 1/3 of the icing or enough to cover the sponge about 1cm thick.
3. Repeat step two with all the sponge layers, alternating the sponge. Chocolate, Coffee, Chocolate, Coffee.
4. Refrigerate for up to 10-15mins to ensure the icing has begun to set and the cake is sturdy.


Chocolate Frosting Coating:

1. Beat together the icing sugar, butter, cocoa powder, vanilla essence and water until smooth and fully blended. (Add more cocoa powder to adjust colour and taste.)
 
2. To ice the cake, carefully spoon the mixture on the top and sides using the back of the spoon the gently ease the mixture in to any gaps and begin smoothing out. (If your sponge is a little crumbly apply a thin layer of icing all over and refrigerate till firm to lock in the crumbs and carry on with the next steps; however this isn't always necessary.)
3. Using either an icing spatula or, alternatively, the back of a serving spoon and knife to gently cover the cake, roughly smoothing as you go.
4. Decorate the cake with your chosen sprinkles, fruit and other decorations and refrigerate till serving. (For best results refrigerate up to 30mins or an hour before serving to ensure the cake is sturdy and the icing has begun to harden.   
 
(Tip; This cake can be made and iced up to two days ahead, kept covered in the fridge. Iced or un-iced, it freezes well.)

Enjoy!
 
(Pictures below!)
* 


Don't forget to tag me on instagram (@apesjackson) and on twitter (@aprilroseo) if you recreate this amazing celebration cake. Comment below if you have any other scrummy recipes I should give a whirl.
If you enjoyed this recipe be sure to check out my Blueberry and Lemon loaf cake for something a little more tart but no less stratifying and a show stopper for the summer months. 
 
Hope you enjoyed, 
 
Much love,  -A
Xx


That's all for now folks,
 

XOXO -A
<3 


Wednesday, 6 May 2015

Grunging it up.

May-day for those layers.


With the weather on that rollercoaster transition, loading up those layers will undoubtedly save your skin!

My fave go to layering piece is the classic and no where near underappreciated Tartan Shirt. This staple has always popped up and been on tend, whether its the grungy style of Emily Field from PLL (calling all Pretty Little Liars fans out there ;)) or Cara Delevingne on the go.


Turn that comfy lounge outfit in to a May day staple, I've layered a light stripe tee over a black vest, of course thrown on my trusty tartan shirt, my comfiest leggings, and slipped on my rose gold slipons.
 
For similar items check out these links...  
 
 
That's all for now folks,
 

XOXO -A
<3

Sunday, 26 April 2015

Embrace the Chic in Spring Chick.


Highlight That Spring Glow.

My top three tips and spring trends that'll get you looking and feeling like that spring sunshine.

The Beachy wave.

Get those locks looking chic and summer ready! Light and bronzy highlights or a cute ombre was all the rage last summer but why wait for the trends when you can be the trend setter?! Either way, it'll be sure to embrace the spring shine and add an unmissable glow! And of course you can't forget about that classic beachy wave that gives all the signs of an effortless, natural radiance. (To avoid using heat tools and damaging those locks that we want looking super soft and healthy just plait your hair before bed and it truly will be effortless and look totally chic chick ;)).


Its all about the Sierra.

Take a stunning sunning selfie and add that old school, LA sunshine chic you'll be sure to be noticed for. (Instagrams Sierra Filters up there for that spring flair).
 

Dash of baby pink to make the world wink. ;)

Become a part of spring and embrace your inner flower. Pink is my fave colour (if you couldn't tell by the blog...) and it's the perf colour to brighten up any spring day, not mention it's a classic, chic staple whether your going for the cute girly girl or the soft grunge vibe or jazzing up that festival look and anywhere in between.


Don't forget to comment anymore spring trends or top tips you'll be sure not to be with out in the upcoming spring months. Once again, that's all for now folks, see you next time!

xoxo -A
<3

Tuesday, 21 April 2015

Tuedays Newsday. Outfit of the day.


Perfect for that spring shine and those spring chills.


The very first post for the Tuesdays Newsday series. Most loved spring outfit.

Tuesdays Newsday; every Tuesday you'll get a quickity snipity blog post about my Tuesday. Ranging from outfits of the day to an embarrassing (and hilarious, as they always are...) experience.

(...what have I let myself in for?!)
 
But let's get back to the main aim of the post shall we? #Ootd ;)  


In my opinion, layering those light knits over a pretty floral cami will be sure to give you the double take look this spring. Pairing with your fave comfy leggings (Spot the white paint on mine... opps. It just comes with the Art Student territory). Matching this look with the cutest, on trend shoe, the classic slip on and brightening up with rose gold, the prefect colour for spring! The light toned metal defiantly adds a shine and glow to any outfit. (This is deffo my go to spring shoe!) For extra oomph I added a ditsy floral ring, simple gold midi ring and my rose gold (surprise, surprise...) watch from Olivia Burton.

To Transition in to the evening swap up your light knit for your fave leather jacket (I went for my fave brown biker jacket!) Grab the classic, black structured mini satchel and maybe give a dark pink or red lip a whirl.

 
Items featured:
Rose Gold Slip Ons- H&M, ASOS & Ted Baker (via Asos)

(All links are the exact if not similar products shown/mentioned in images above).

So, grab those shades and enjoy the day in a rocking spring look!
Be sure to comment any of your fave outfits of the day or maybe your go to spring item! :)


To get my go to spring hair look, check out my previous BlogPost 'Getting your crimp on' http://bitches-be-blogging.blogspot.co.uk/2015/04/getting-your-crimp-on.html


xoxo -A
<3


The Not So Basic, Basics.


Spring Basics.

What's in my makeup bag?

 
 Afternoon folks, today I thought I'd share what's in my make up bag. I don't generally carry make up out and about with me (except maybe a lip product or two) so my make up bag consists of the general essentials and a selection of similar products, so I can pick and choose depending on what I feel like... (Yes, that does mean I don't actually wear all three of my Bronzers at once! I just pick one ;)).

(Scroll down for the inside scoop!)


Base
Bronzer
Eyes
Get your blusher on
Lips
Illuminator (Highlight) and Shadow sticks (These arn't necessarily a daily essential but they're a great addition to the makeup bag to give you that extra glow every now and then, especially for spring/ summer!).


Products Featured:
Benefits They're Real Mascara
Ted Baker Mascara
Ted BakerShadow Stick- Gold
Ted Baker Illuminator- Pearly Pink and Golden Glow
Ted Baker Eyelash Curlers 
Ted Baker Big Blusher Brush 
Avon Satin Powder Eyeshadow Duet - Burnished Bronze/Tawny Gold
Nivea Lip Balm- Soothe and Soft Rosé 


That's all for now folks, if you want more information or an insight in to any specific product feel free to comment below. Anyhow... hope you enjoyed todays post and I'll see you all very soon!

P.s No Products were harmed in the making of this Blog Post.


xoxo -A
<3